
Vaultwarden on Dokploy w/ Tailscale
-- views
Sep 8, 2025A guide to deploying Vaultwarden on Dokploy with Tailscale integration
VaultwardenTailscaleDokploySelf-host
Preface
I used to put my passwords in my own browser's password manager and store well practically everything. I then had a "master key" setup where I would be prompted to enter my master password to unlock the browser's password manager. I thought it was nice but if I wanted to be using other browsers, then this browser-locked password manager can only do so much. The security of these browser password managers were non-existent on mobile too.
Now, I put my passwords in a proper password manager, Bitwarden. I love that they're open-source and the cool thing is that while they've open-sourced the code required to host the server, there is a fork of Bitwarden's server implementation but written in Rust due to the official one being resource-heavy. This is called Vaultwarden.
I loved it because at the time I was really into self-hosting and Vaultwarden was perfect. I wanted to minimize attack surface so I integrated Tailscale into Vaultwarden where the vault is only accessible when you're connected to Tailscale. This is virtually done at zero cost.
Oh, and one more thing, I even added backups!
Demo
Requirements
Now, what do you actually need? A server, maybe even a laptop where you've configured it for self-hosting, Dokploy on your server, Bitwarden client installed on your end device, and a Tailscale account.
General Setup
Note: I will not be going through on how to install Dokploy.
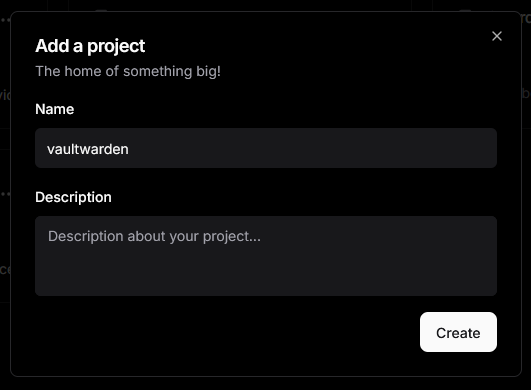
To begin, create a project in Dokploy
Then, create a service and then select compose. You should see this
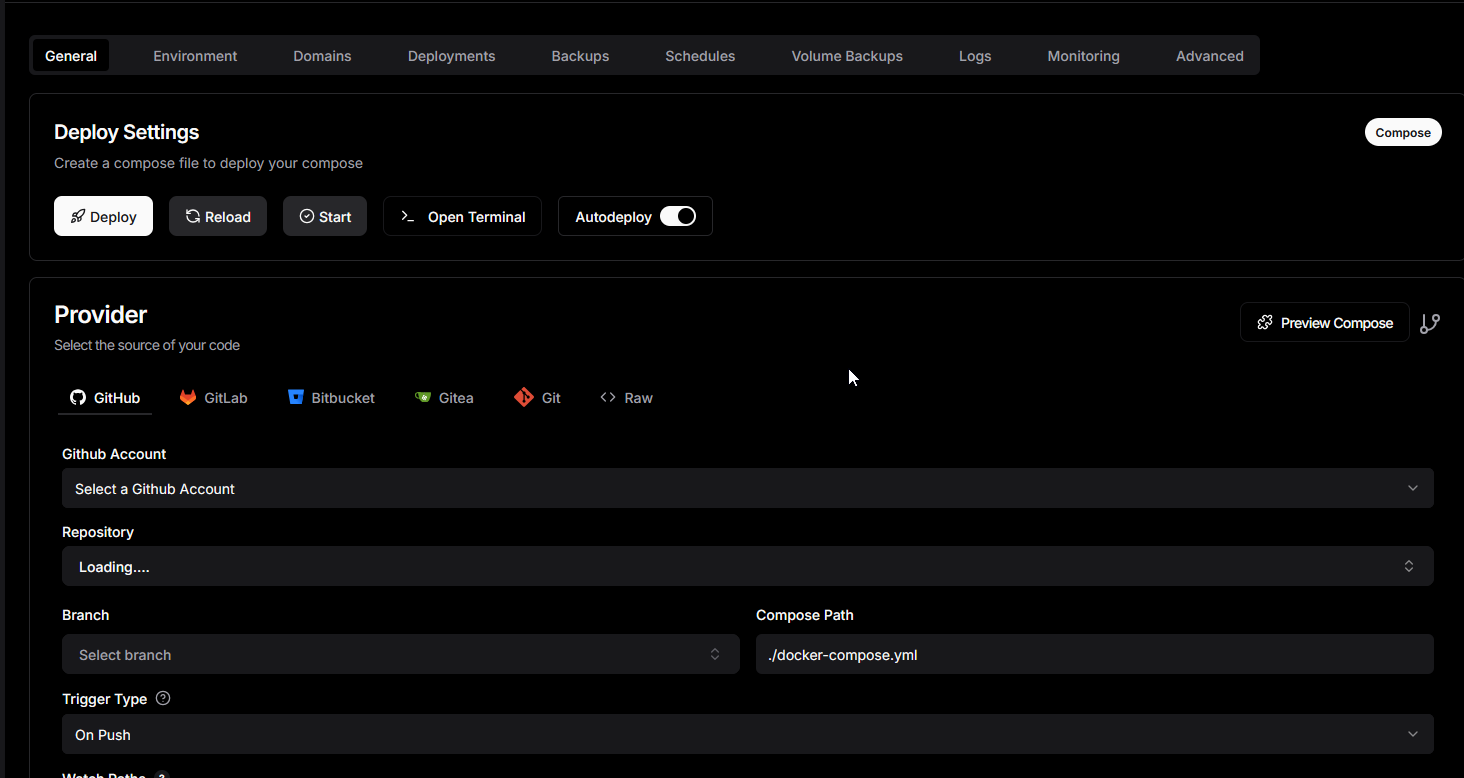
You'll need to click raw since we'll just be using the raw docker compose. Below is the full docker compose. Copy it and paste it in. Don't forget to save it.
yml
Since Dokploy handles persistent storage differently, we'll need to append
../files which is what I've already done! Then deploy.Tailscale Setup
You will need to authenticate with Tailscale to add the Vaultwarden instance as a tailscale machine. To do this:
- You need to go to logs
- Click on the dropdown until you find "ts-vaultwarden" (mine is named differently in the picture below)
- Find the link like this
https://login.tailscale.com/a/xxxxxxxxxx
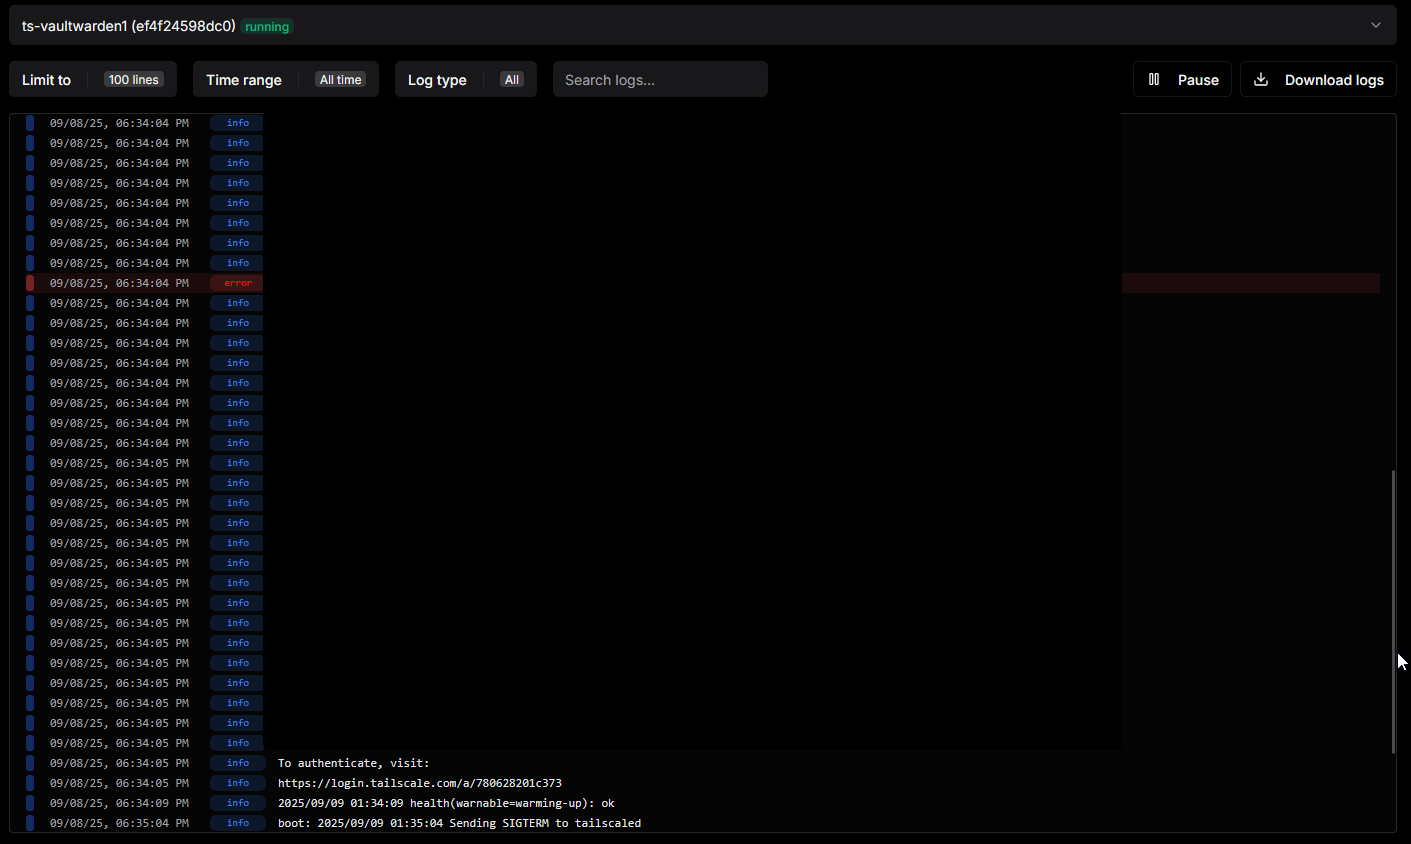
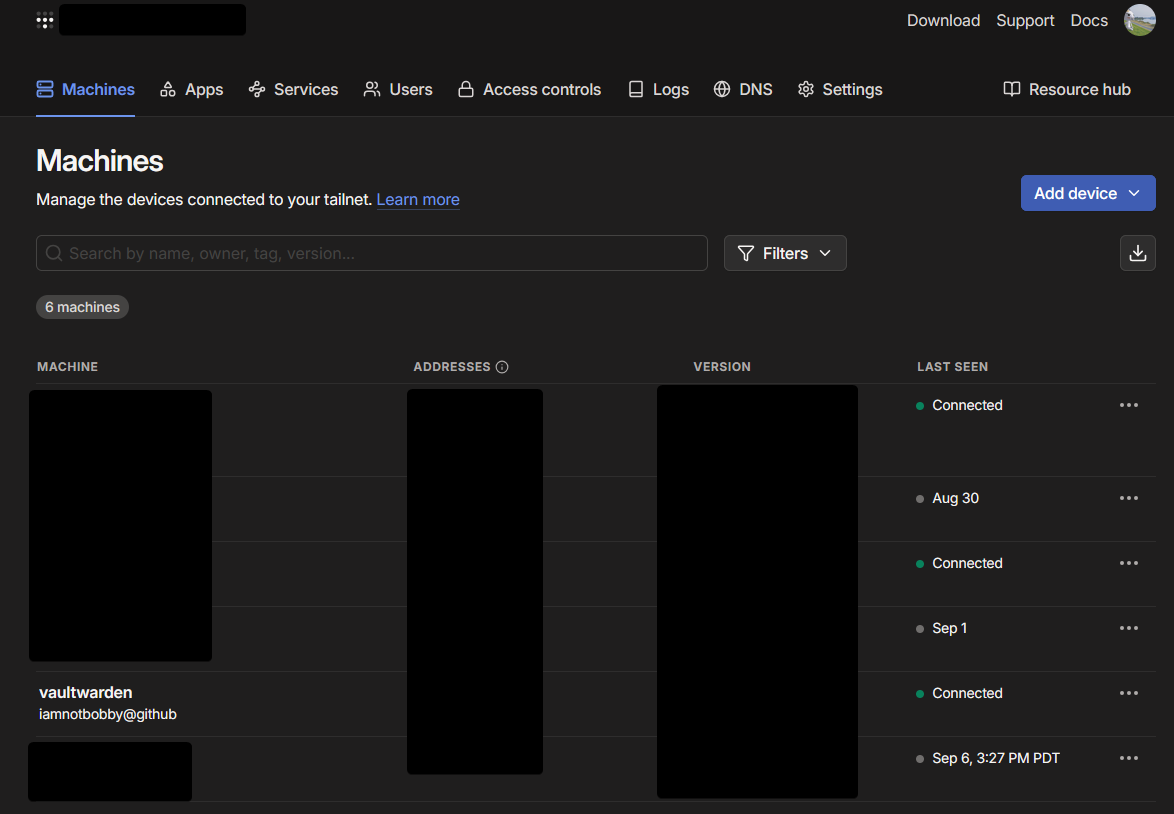
Open the link in your browser and then sign in. If you haven't created an account, you will be prompted to create an account. You will be prompted to connect the device afterwards. Make sure you connect it. You will know you did it right when you see "vaultwarden" in
https://login.tailscale.com/admin/machines
Return back to your Dokploy instance, and then go to the "Advanced Tab"

In the advanced tab, find the section named "Volume". You will need to create a persistent file mount for Tailscale (and Rclone later on). Click on Add Volume and then in the content field paste this:
json
This is needed for HTTPS for Vaultwarden. In "File Path" input
/tailscale/config/serve.json as the path. Save it and then you're all done with the Tailscale setup!If you haven't already, also install the Tailscale client on your end device. link to install here
Rclone Setup
Rclone for me was very confusing. I wasn't really a big fan of it, but once you get it setup it's smooth sailing. To begin, you need to enter your server's terminal. Afterwards, run this command:
bash
This will help you walk through the Rclone configuration process. You will come across this once running:

If you already have a Rclone configuration file then scroll down a bit further. But if you don't, make a new one by entering "n". On the second step of the configuration process, you will be asked what type of storage you want. In this setup, I used Google Drive. If you want to use other services, you should be able to but I will not provide guidance on them. Choosing another service does not impact the overall setup of Vaultwarden, only the setup pertaining to backups.
Once you chose Google Drive, you will be asked for your google application client ID. You can find the link on how to obtain on Rclone's documentation.
You will then be asked for your client secret. This is shown in the setup process for client ID. If you can't find this, it will be on the "Credentials" page under "OAuth 2.0 Client IDs" and under the credential you created. Click on this, and then you should find "Client Secrets"

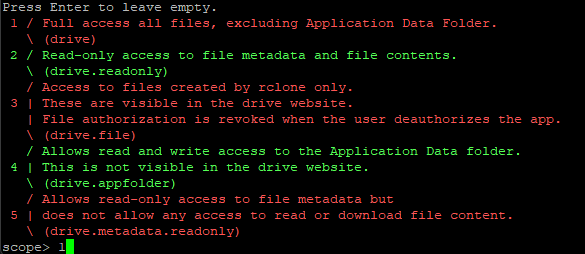
Afterwards, you will be asked on the scope. For our purposes, we will choose option number 1
You will then be asked for service account file. For this setup, I personally left it blank. Then you will be asked if you want to edit advanced config. Enter no. Finally, you're at the last step of setting up Rclone. You will be asked to authenticate Rclone. Depending on how you're accessing your server, you will be asked on how to authenticate. In my case, I did not have it open a web browser automatically because I was accessing my terminal through Putty and web browsers cannot open through that way. Instead, I had a Linux installation where I just installed Rclone and ran the command needed to authenticate Rclone.
Once you've authenticated Rclone, you will be asked if you want to configure Rclone as a shared drive. This is up to you. Finally, you will be asked if your Rclone configuration is good to go. Just press enter. Then you're done! Exit out of the Rclone setup and then run
bash
This will show your Rclone configuration. Copy this and return back to Dokploy. Similar to Tailscale, go to the advanced tab, and then the volume section, and then click "Add Volume". Your content should be your Rclone configuration and the file path should be
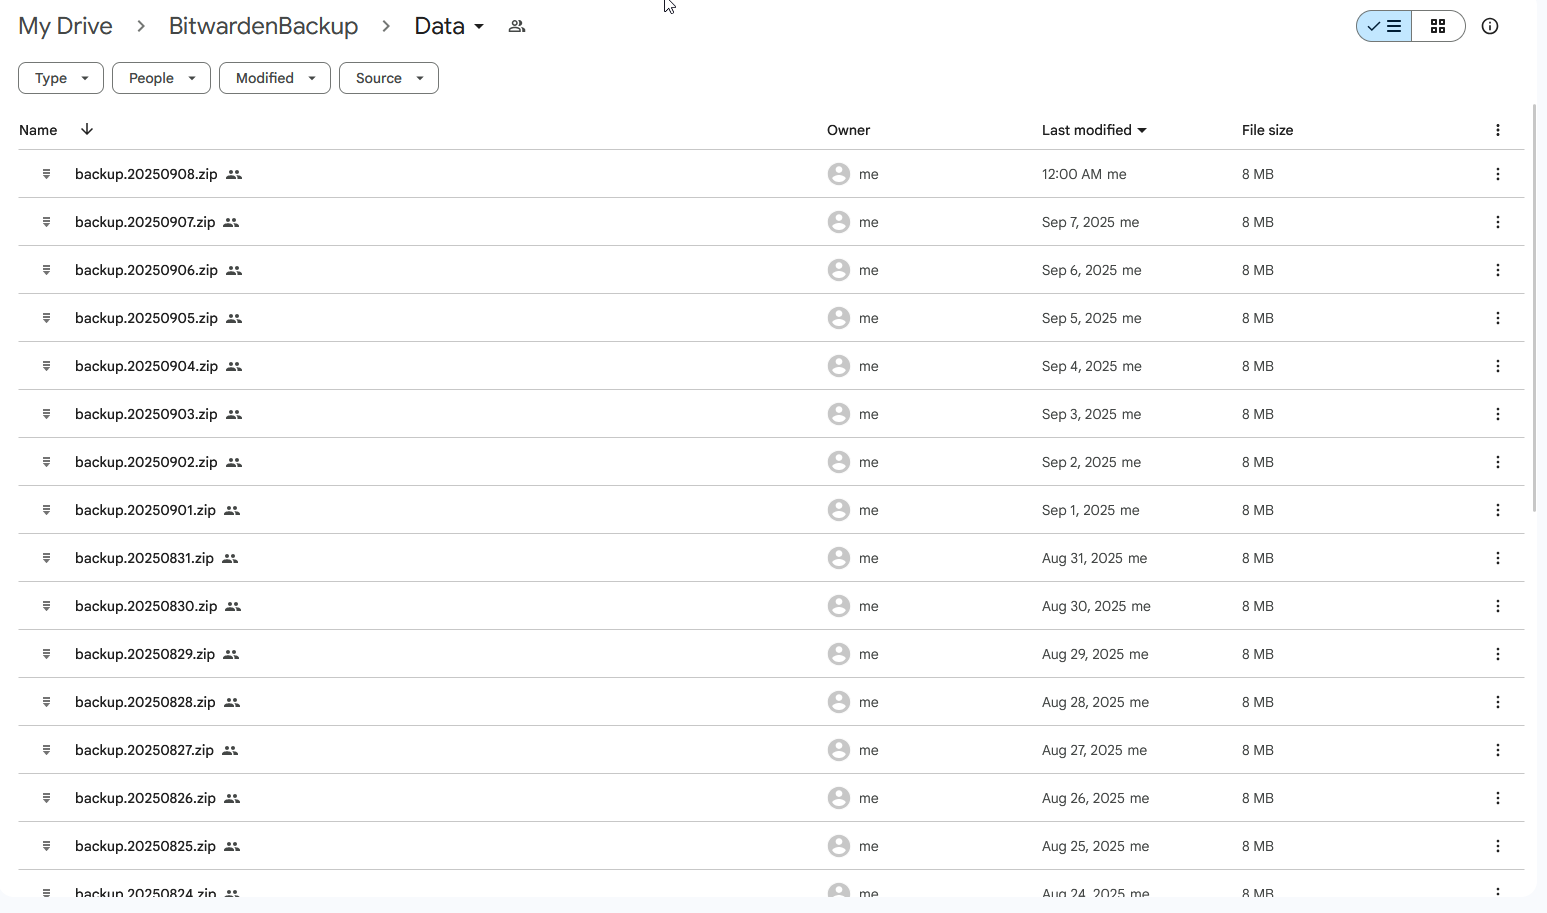
/rclone/rclone.confIn the docker compose I shared earlier, this backup will run daily at midnight and keep backups for 30 days. Make sure you don't forget to set a zip password if you want to continue using zip that is.
All done with Rclone now!
Vaultwarden Setup
Finally, we can configure our Vaultwarden instance..
To begin, you need a few environment variables:
env
Paste this under "Environment" and then save it. You will need to create an argon hash for the admin token.
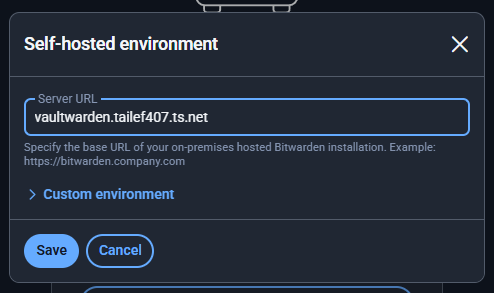
From there, copy and paste the hash you've created as the admin token. You will need to properly prevent variable interpolation (also mentioned in the link above). For domain, you will need to obtain it from your Tailscale dashboard. Once there, you will need to click on "vaultwarden" and then find "Full Domain"

Then you're done with the environment variables. Re-deploy and visit the domain. You should come across Vaultwarden's page if everything is working. If you can't visit the website, double-check your Tailscale setup and refer to docker logs.
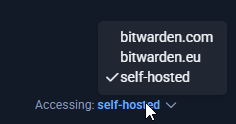
On your Bitwarden client, you will need to configure it so it uses your Vaultwarden instance.
Beyond this point, everything is up to you to customize Vaultwarden to your liking.
Conclusion
That's pretty much it. If you have any questions or concerns, feel free to leave a comment below. Don't forget to ditch your browser's password manager if you haven't already too.